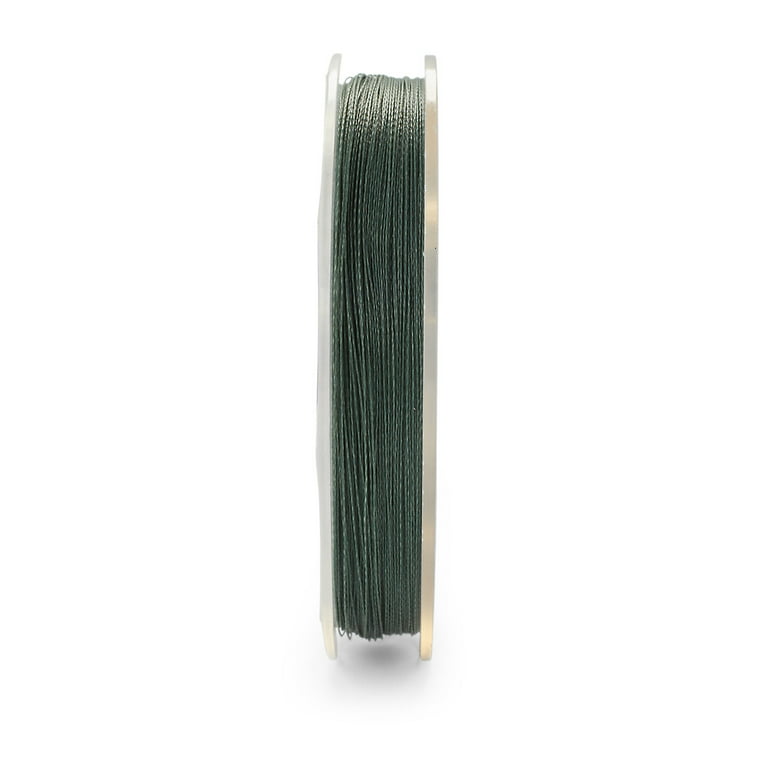
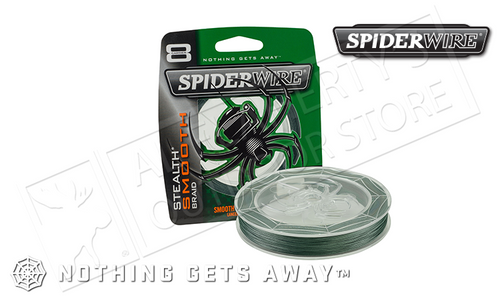
SpiderWire - Stealth Smooth 8 Carrier MOSS GREEN 300yards - 15LB
)/images/Product/large/spiderwire-stealth-smooth-8-carrier-moss-green-300yards-15lb-braidedpe-line-10919.jpg)

KastKing Hammer Braid Fishing Line, Orange, 4 Strand
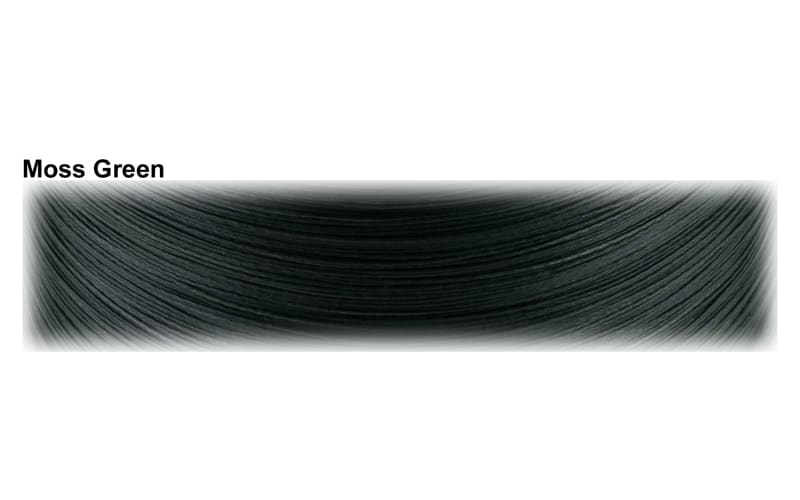
SpiderWire Stealth is made from Dyneema, The World's Strongest Fiber! Available in Moss Green for low-visibility underwater, or Hi-Vis Yellow for visibility above water. Constructed to provide ultimate strength with the thinnest diameter for smooth and quiet performance. The no stretch properties of Dyneema PE fibers provides incredible sensitivity to instantly detect bites and structure.
Spiderwire Stealth Smooth

Spiderwire Braided Fishing Lines & Leaders 20 lb Line Weight

Spiderwire Braided Freshwater Fishing Lines for sale

Spiderwire Green Braided Fishing Lines & Leaders 15 lb Line Weight

Spiderwire Fishing Fishing Lines & Leaders for sale
SpiderWire Stealth® Superline, Moss Green, 20lb
This new and improved SpiderWire Stealth is constructed with the world's strongest giver, Dyneema. The innovative fishing braid composition provides ultimate durability with the thinnest diameter for smooth and quiet performance that resists digging in on reels. The no-stretch properties of the PE fibers provide incredible sensitivity to instantly detect bites and structure.
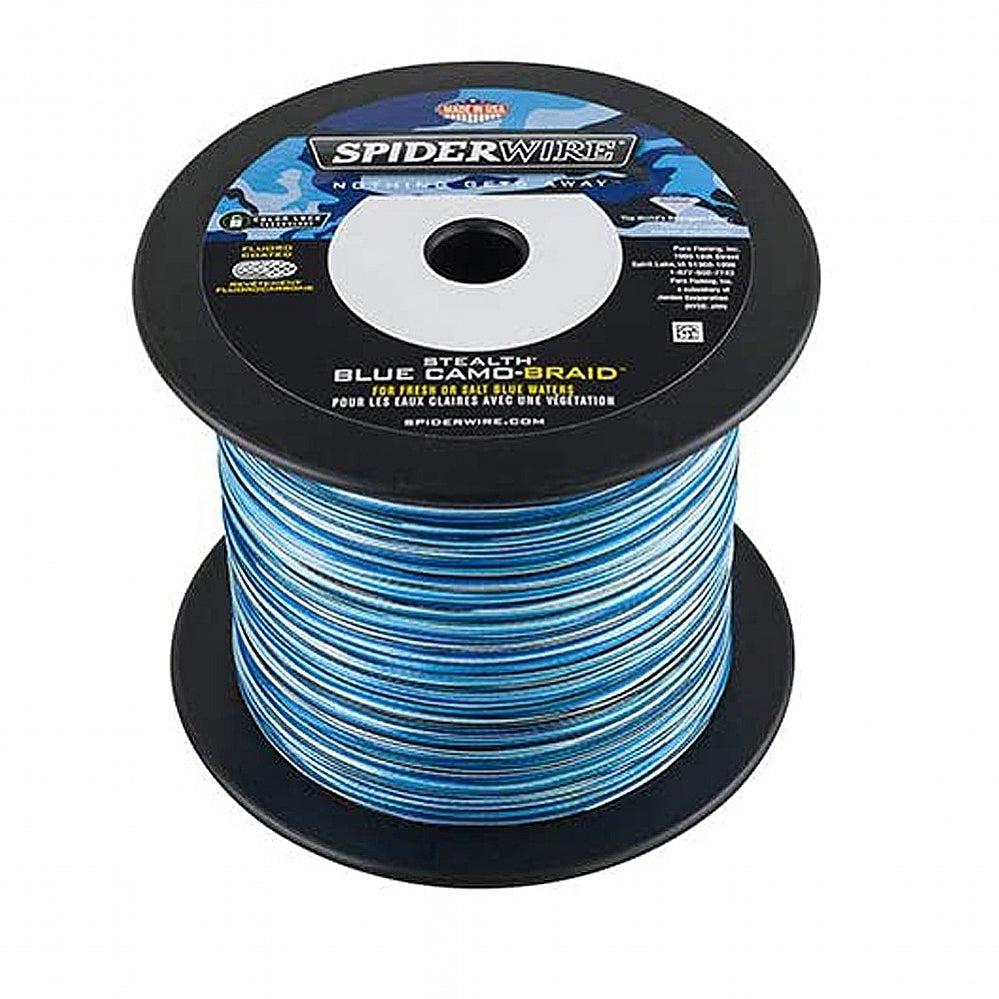
Spiderwire Stealth Superline - Hi-Vis Yellow - 10lb | 4.5kg - 1500yd | 1371m
SpiderWire Stealth® Smooth Superline, Moss Green, 15lb
SpiderWire DURABRAID is 25% tougher than Power Pro! Strong knots with super shock absorbency, SpiderWire DURABRAID is now the toughest braid in the market. Designed to be fished around rocks, docks, boat hoists, heavy vegetation, and timber.
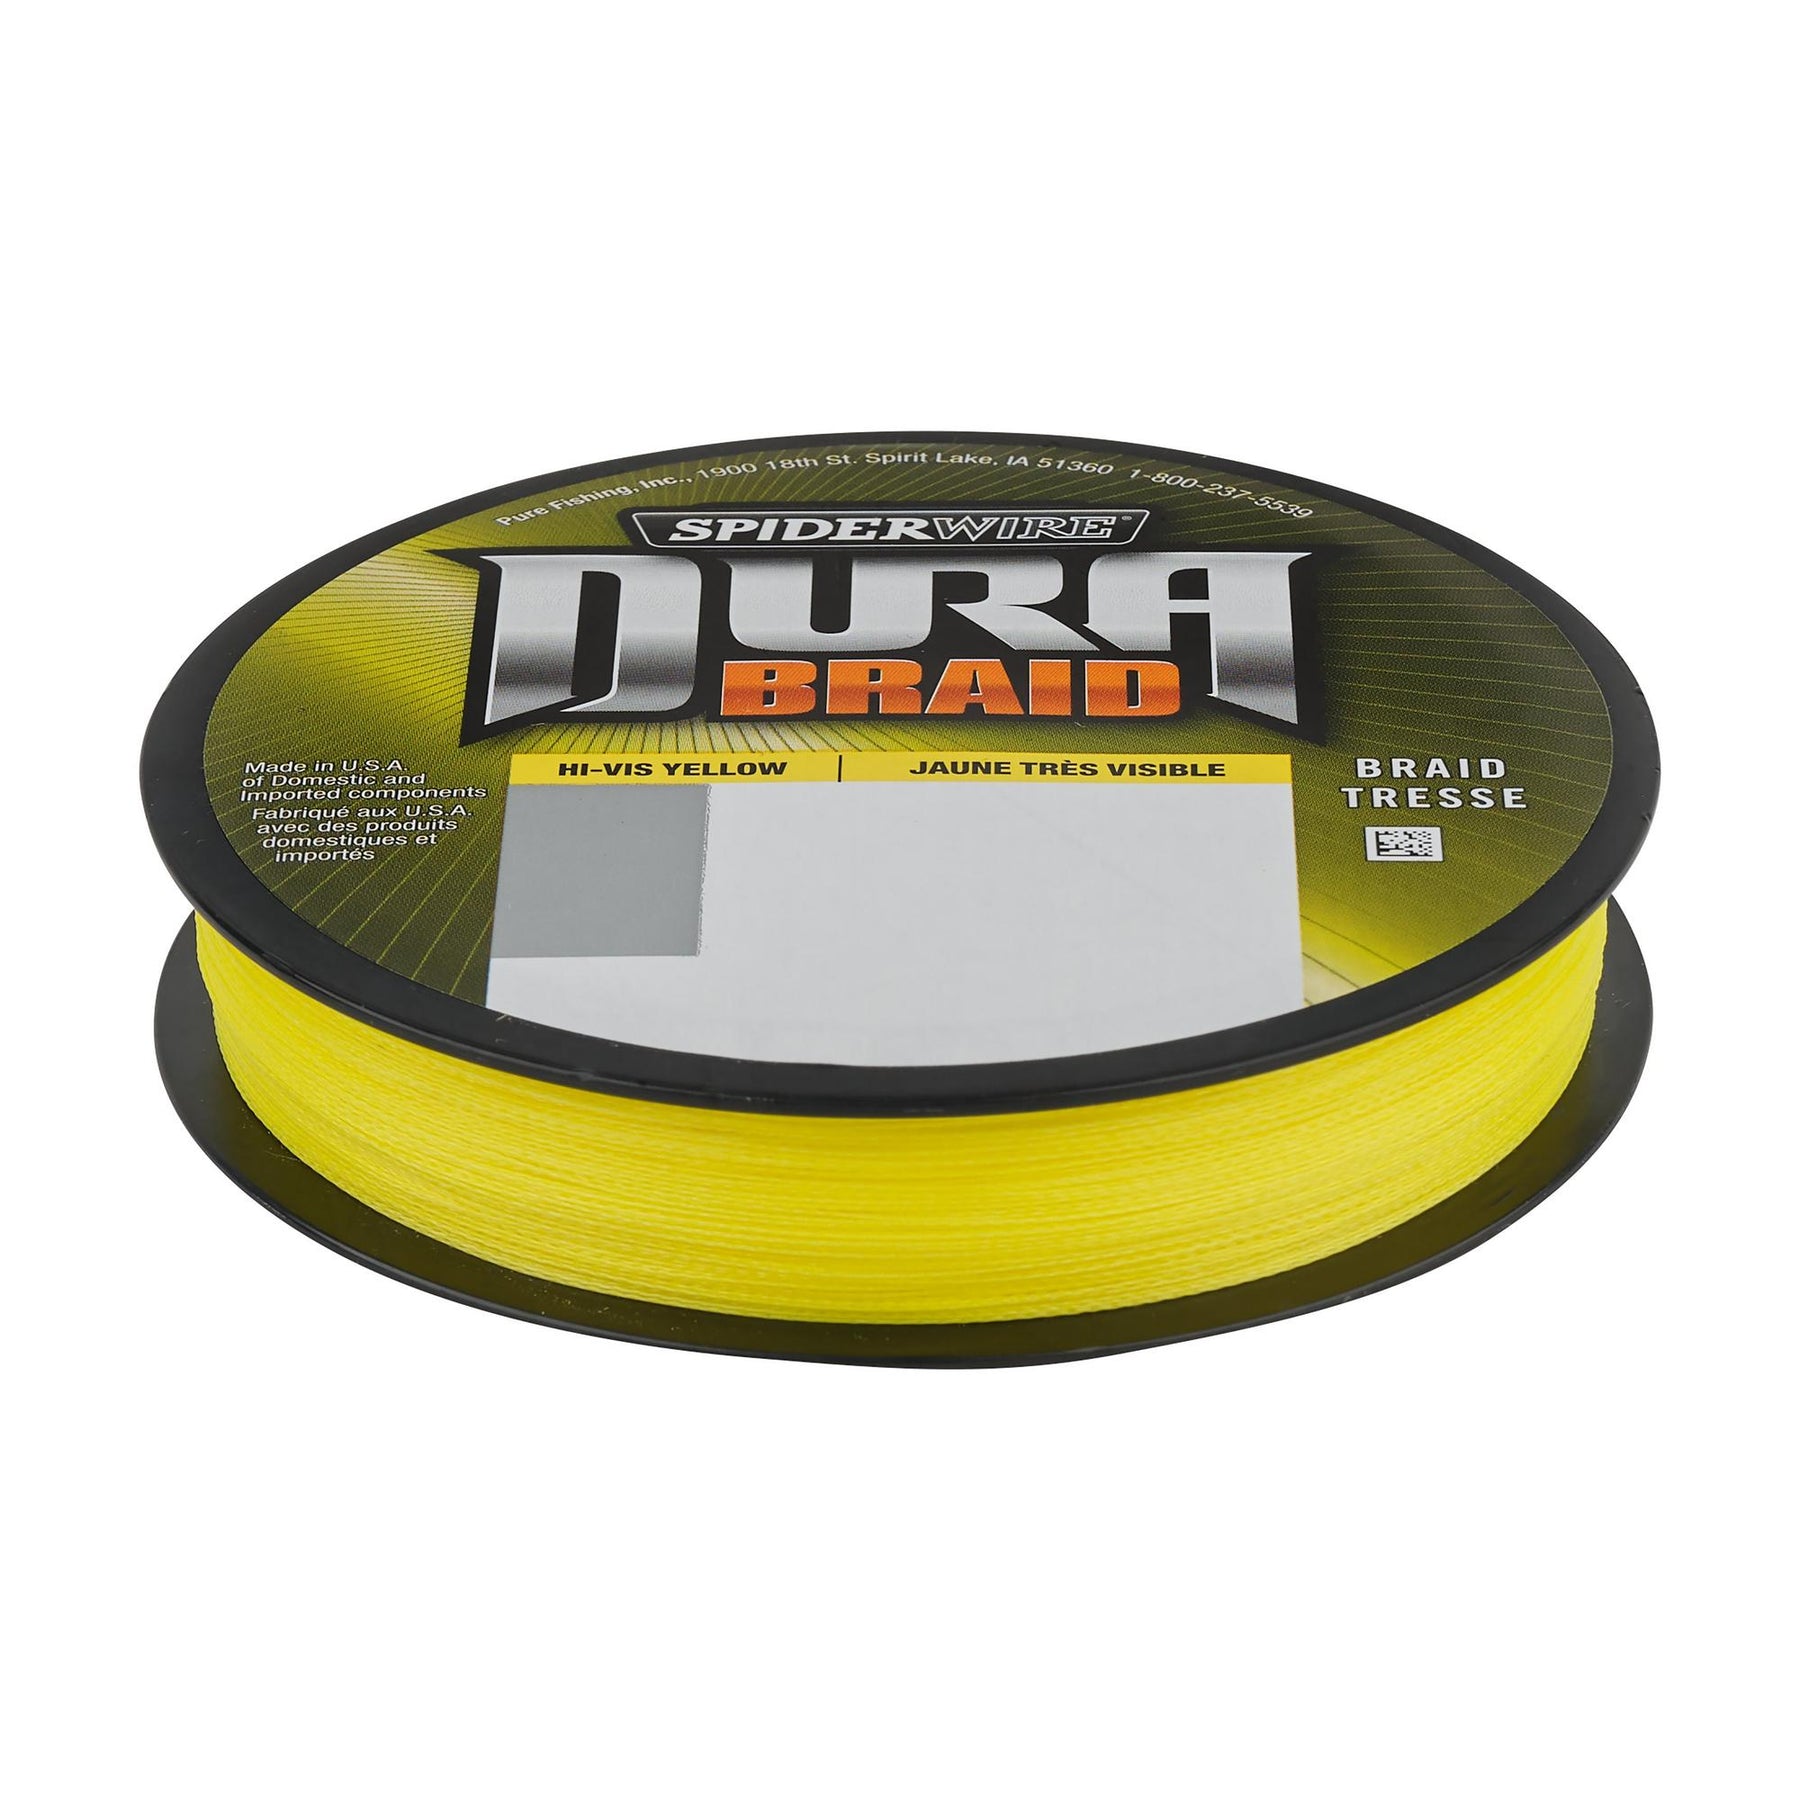
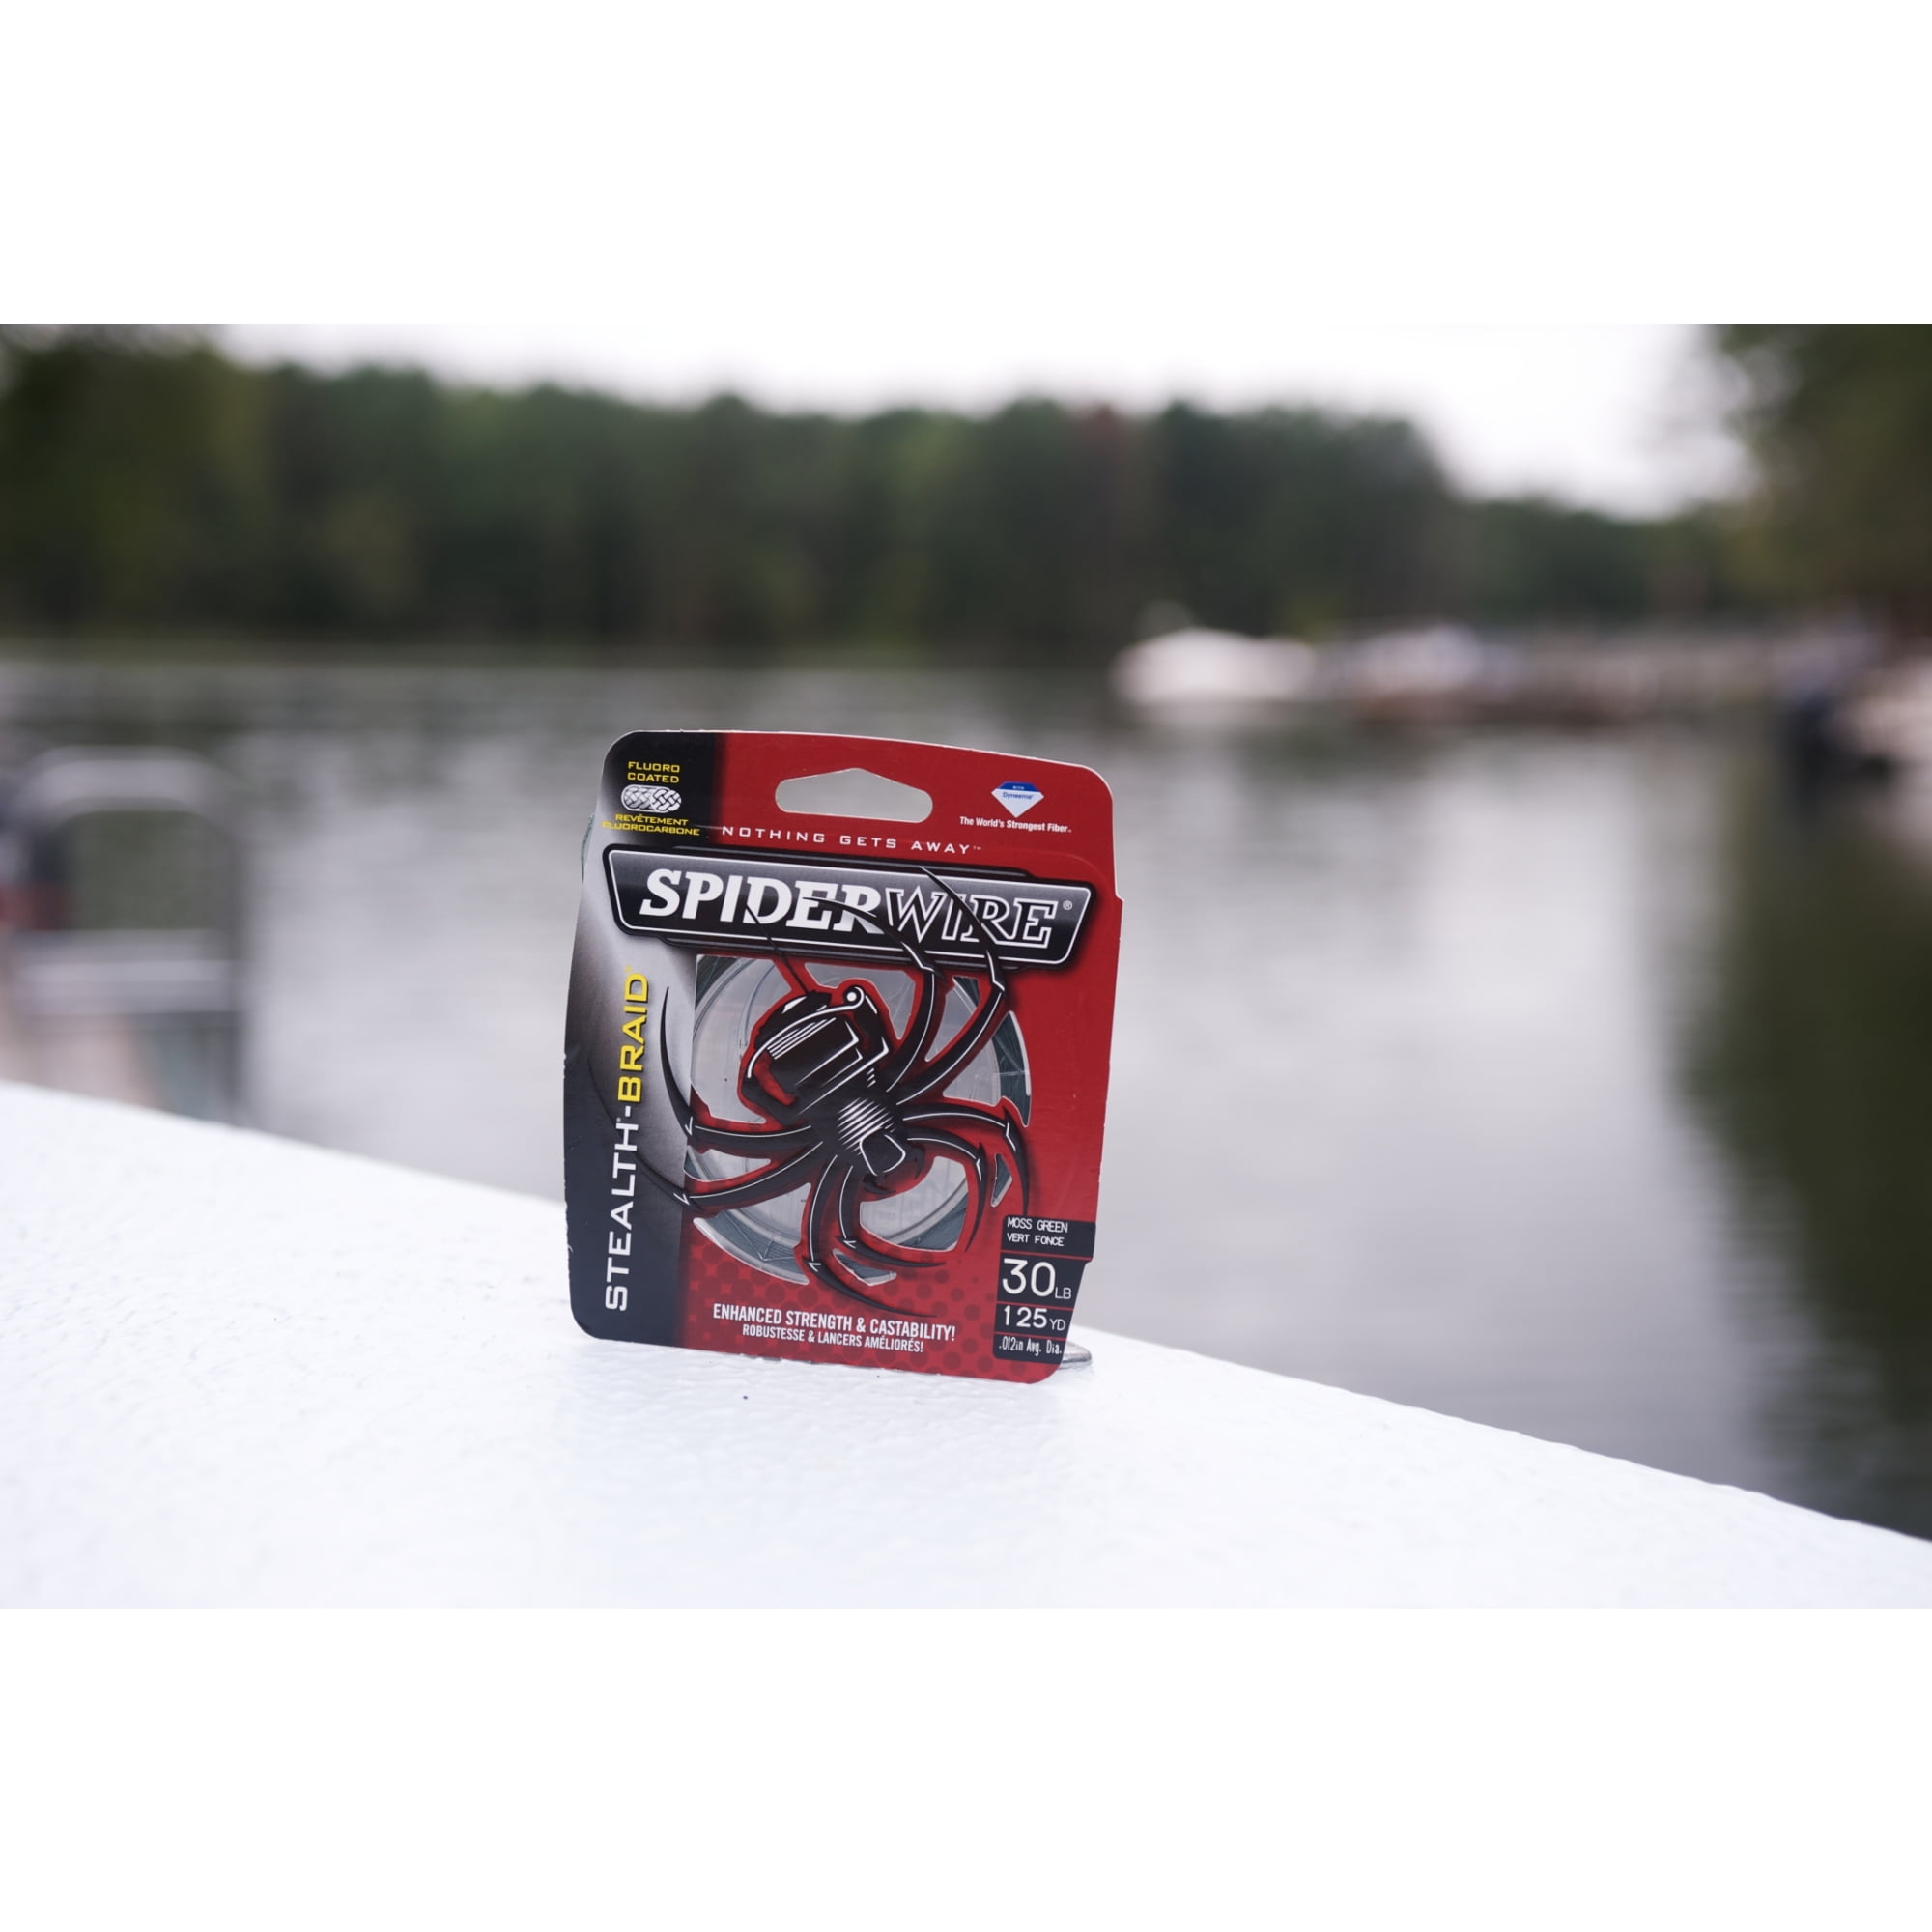
Spiderwire 30lb DuraBraid 150yd Moss Green Fishing Line

Spiderwire Stealth Smooth 8 Moss Green Braid 150m All Sizes
Spiderwire Stealth Braid Fishing Line, Moss Green, 300 Yard Spools
Spiderwire Stealth Smooth Braided Line
SpiderWire® Stealth® Smooth x8 braid offers a smooth, soft feel without sacrificing strength, sensitivity, or diameter. Stealth Smooth x8 is tightly

SpiderWire Stealth® Smooth8 x8 PE Braid

Discount Tackle - Knot Guides — Page 3